Connecting a new subsystem to a security server and deleting a subsystem from a security server
This article describes how a new subsystem can be registered or unregistered on a security server of the Suomi.fi Data Exchange Layer.
Please note that the subsystem must be connected to the Security Server separately in both the test and production environments.
This article does not cover how to configure the owner organisation on the Security Server. It is performed separately during the installation of the Security Server.
Content of the article
1. Preconditions
2. Adding a new subsystem to the Security Server in the case of an organisation’s own subsystem
3. Adding a new subsystem to the Security Server in the case of a subsystem of another organisation (e.g. the customer organisation of an intermediary)
4. Deleting a subsystem
1. Preconditions
Naming a subsystem
If your organisation is connected to the Data Exchange Layer, particularly as a service provider, it is important that the name of the subsystem shows what kind of services the subsystem provides. This way, organisations that want to use your services can understand their benefits better.
We recommend that you name the subsystem as follows:
- [Name of service to be called/offered] - [name/abbreviation of the organisation] - [client or service]. Example: vtj-csc-client
- The most important thing is that the name indicates the task of your subsystem.
- Please, do not use a mere string of numbers or some other nondescriptive string as the name.
- Service consumers must remember that their own subsystems may not be given the same name as the service being utilised. For example, an organisation wishing to use the Digital and Population Data Services Agency’s vtjrajapintaOpens in a new window. subsystem may not name its own subsystem that utilises PIS ‘vtjrajapinta’.
2. Adding a new subsystem to the Security Server in the case of an organisation’s own subsystem
Add the organisation’s own subsystem to the Security Server following the instructions below.
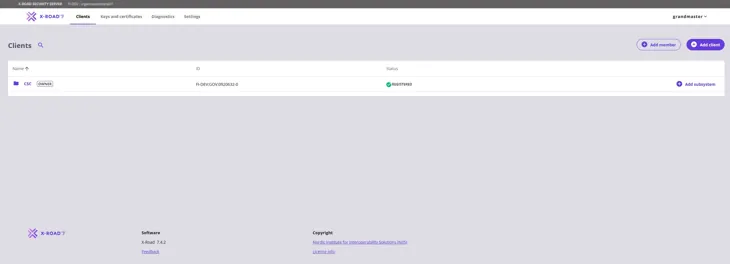
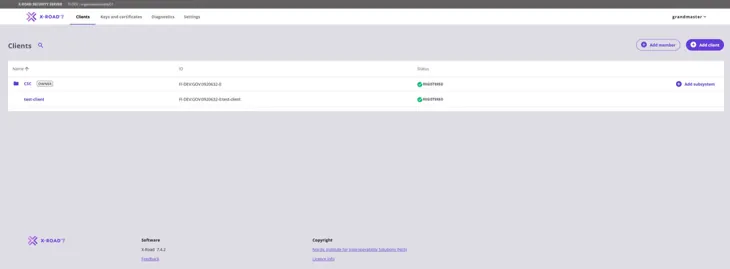
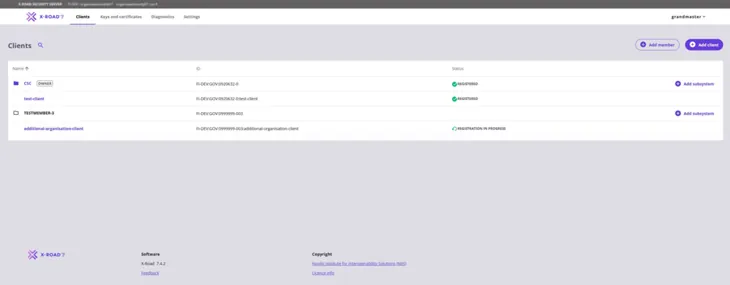
From the navigation menu, select Clients. To start adding a subsystem, select the Add subsystem button.
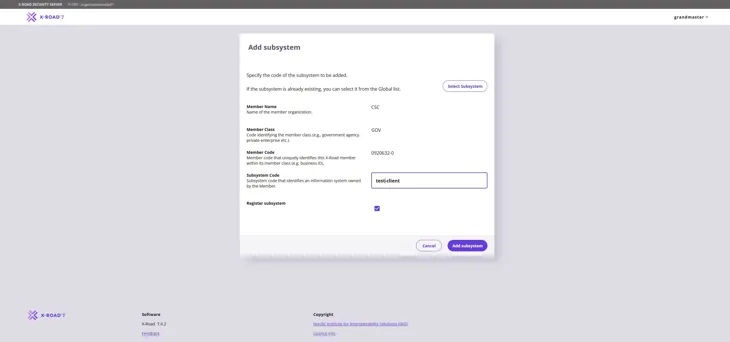
Enter the subsystem information and then click Add subsystem to continue.
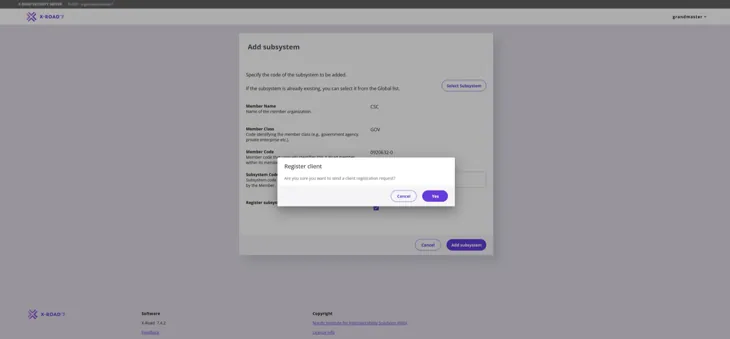
Next in the Register client section the system requires confirmation for the registration request. Confirm the registration by choosing Yes.
The subsystem registration status is “Registration in process”.
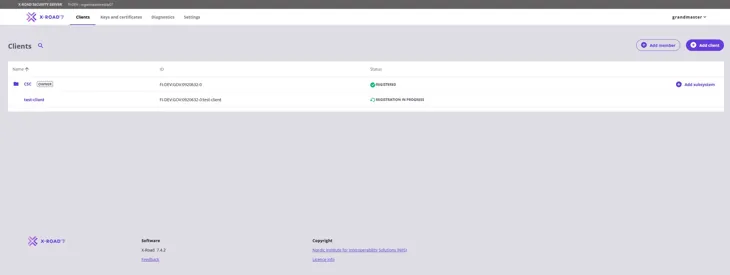
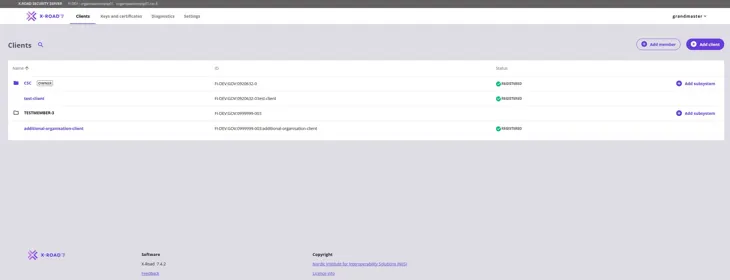
The status of the added subsystem (client) will change to “Registered” after 5-10 minutes. Refresh the web browser to update the status of the subsystem. If needed, contact palveluvayla@palveluvayla.fiOpens in a new window..
The subsystem is now connected to the Security Server. Remember that the subsystem should be connected to the Security Server separately in the test and production environments.
If you are adding to the Security Server a subsystem whose owner organisation has already been added to the server and has a valid Signing Certificate, the operation is complete.
Please note! If the connecting organisation is new to the Security Server, an organisation-specific Signing Certificate must be created for it (see next section 3).
3. Adding a new subsystem to the Security Server in the case of a subsystem of another organisation (e.g. the customer organisation of an intermediary)
Before a new subsystem can be added the organisation needs to join the Data Exchange Layer. If the organisation is new to the Data Exchange Layer, fill in the access licence application via this link.Opens in a new window.
After the access licence application has been accepted the Data Exchange Layer administrators (palveluvayla@palveluvayla.fi) will send further instructions to the technical contact person.
After the administrators have verified the new organisation you can continue by following the instructions below.
Adding a new organisation
In the navigation menu choose Clients. Begin adding the organisation by clicking Add client.

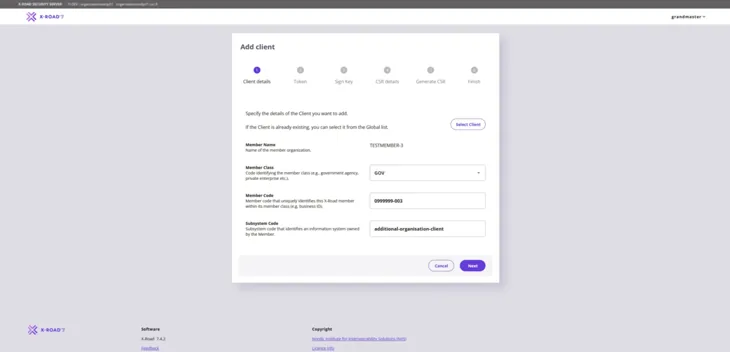
Give the information for the client organisation and the subsystem in the Add client window in section 1. Client details. Continue by clicking Next.
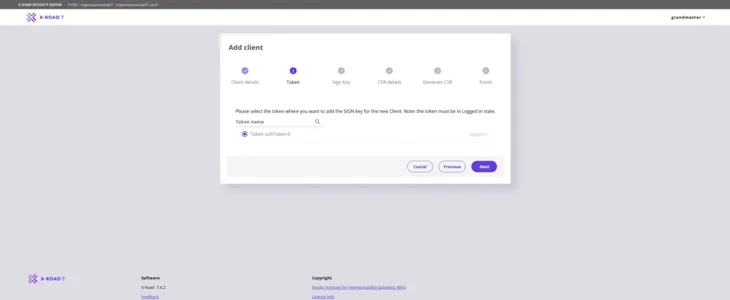
Add server Token in section 2. Tokens and continue by clicking Next.
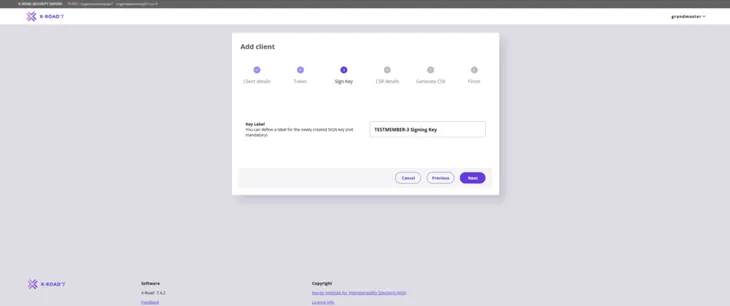
Give the organisation-specific signing certificate (Key label) in section 3. Sign key. Give a name that describes the purpose of the key. This way, the key can easily be found in the table on the key management page. Press Next to continue.
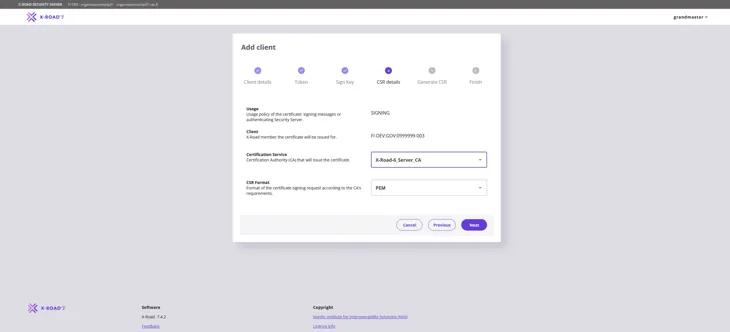
Fill in the information for the certificate authority in section 4. CSR details. Under CSR Format choose PEM . Press Next to continue.
Certification Service: Use the Certificate Authority (CA) provided by the Digital and Population Data Services Agency: for the production environment (FI) use G5R and for the test environment (FI-TEST) use G2R.
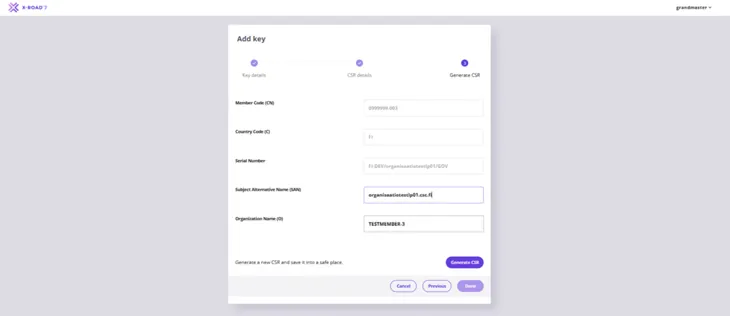
In section 5. Generate CSR give the client organisation’s name (O) to create signing certificate request. Enter the name of the organisation for which the signing certificate is being requested. Enter also the FQDN of the Security Server in the Subject Alternative Name (SAN) field. Continue by clicking Generate CSR.
In section 6. Finish click Submit to finish adding the organisation.
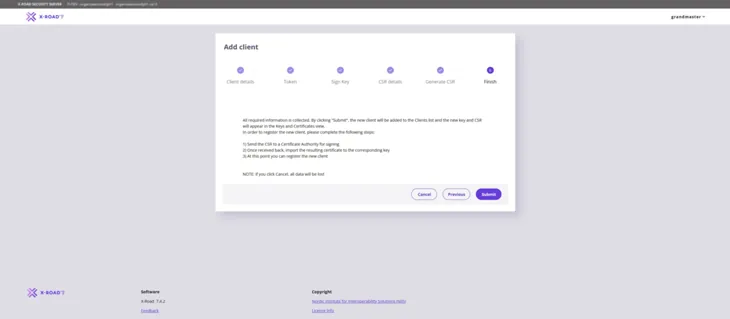
Check that the signing certificate request has downloaded on to the computer. If you can not find the CSR file, check the downloading route for files on your web browser.
After downloading the CSR the new organisation has been added to the security server.
Submit the application for the signing certificate via the Digital and Population Data Services Agency’s (DVV) e-services. Note: The certificate application is submitted using the customer account of the organisation that owns the security server. The generated signing certificate request must be attached to the application.
- Certificates are applied for via the e-services according to separate instructions: Applying for Data Exchange Layer certificates in the e-services - Suomi.fi Data Exchange Layer - Suomi.fi for Service Developers
DVV delivers the signed certificate to the technical contact person specified in the certificate application. Install the signed signing certificate provided by DVV on the security server according to the instructions below.
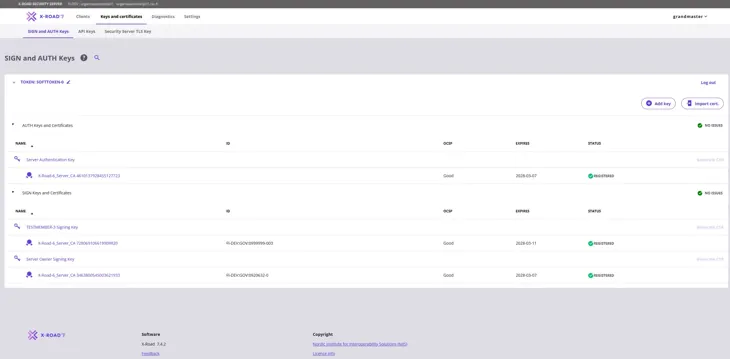
In the navigation menu go to Keys and certificates and choose the SIGN and AUTH keys page.
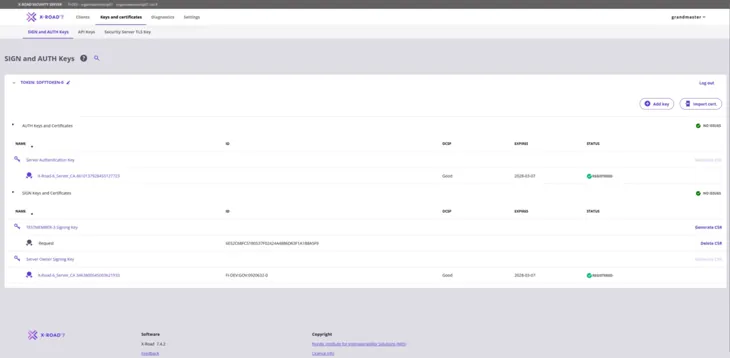
Select Import cert. to import the certificate to the security server. After the certificate has been imported the status of the signing certificate below the previously added signing key will change to “Registered”.
Navigate to Clients in the navigation menu. The subsystem can now be registered. Start by choosing Register in the subsystem section on the right.
Confirm sending the registration request by choosing Yes.
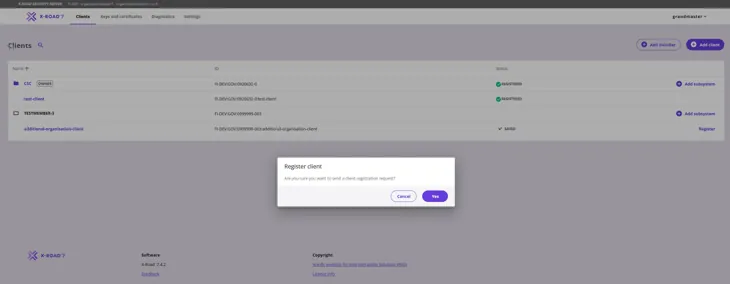
After the registration request has been sent the status of the subsystem will change to “Registration in progress”.
The status of the added subsystem (client) will change to “Registered” in 5-10 minutes. Refresh the web browser window to update the status of the subsystem. If needed, contact the Data Exchange Layer’s administrators at palveluvayla@palveluvayla.fiOpens in a new window..
The subsystem is now connected to the Security Server. Remember that the subsystem must be connected to the Security Server separately in both environments – the test and the production environment.
4. Deleting a subystem
Delete the subsystem by following the instructions below.
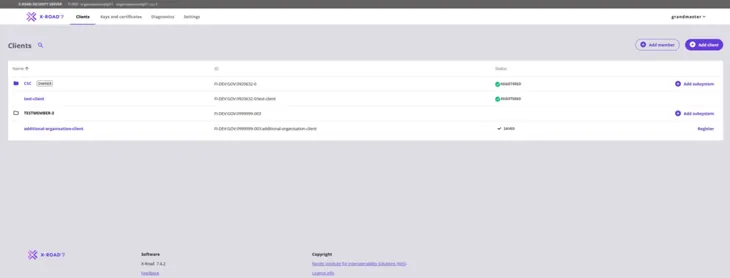
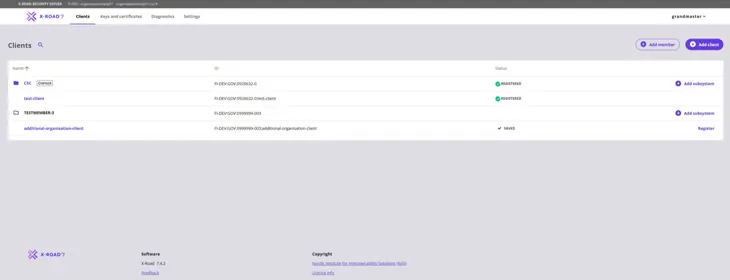
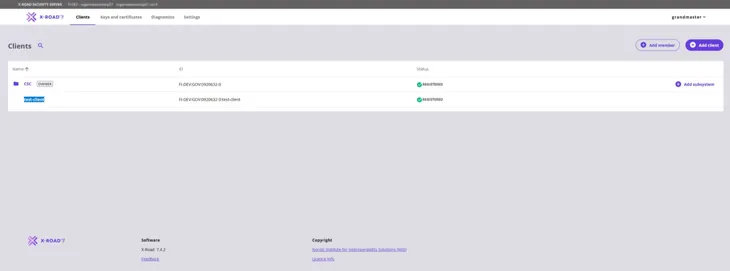
From the navigation menu, select the Clients page and choose the subsystem you wish to delete by clicking its name (highlighted in picture).
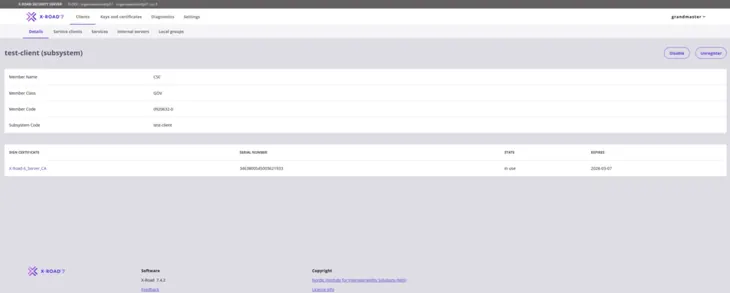
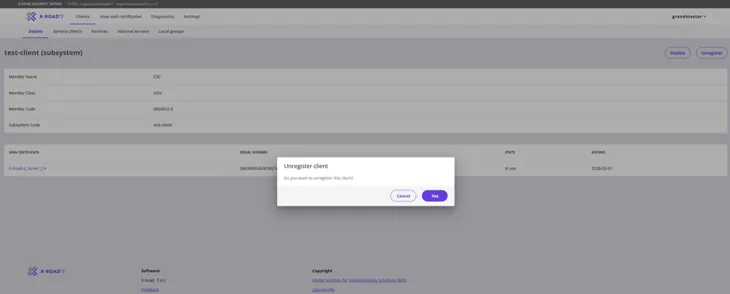
The subystem information is shown on the Details page. Click the Unregister button to send an unregistration request to the Central Server.
Next the system will ask you to confirm the deleting of the subsystem in the “Unregister subsystem” window. Confirm unregistration request by choosing Yes.
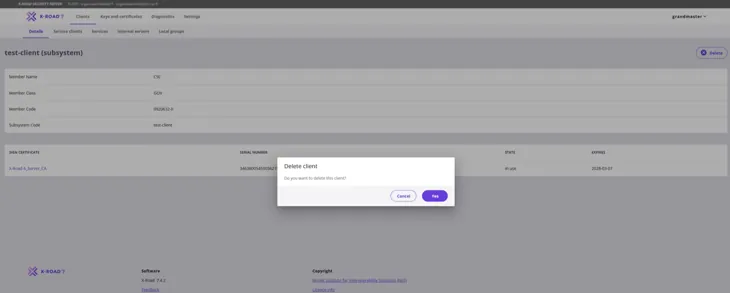
You can continue deleting the subsystem after sending the unregistration request. In the Delete client -window confirm deleting of subsystem by choosing Yes.
If the subsystem to be deleted is the last subsystem (client) of its owner organisation on this Security Server, the Signing Certificate of the outgoing organisation is unnecessary. It can be deleted.
Please note that the automatic deletion of a Signing Certificate does not delete the signing key. You must delete it yourself on the Keys and certificates page.