Connecting a Security Server to the test or production environment
This article describes how to connect a Security Server to the test or production environment of the Suomi.fi Data Exchange Layer after installation.
After installing the Security Server software, the Security Server must still be connected as a member of the Data Exchange Layer instance or environment. The screenshots in these instructions were taken in the test environment, so the instance displayed is FI-TEST. In the production environment, the corresponding instance ID shown must be FI. By following these instructions, you can connect the server to either of these environments. Therefore, the term ‘target environment’ in these instructions means either the FI-TEST or FI environment.
These instructions are also suitable for the development environment. However, the development environment uses different OCSP and TSA servers and the certificate type is not G5R or G2R.
Use the instructions in this article to connect a Security Server to the test or production environment with the latest X-Road version currently used in the Data Exchange Layer. You can check the version currently used in the Data Exchange Layer on the Version updates page.
See the video series showing the connection process of the Data Exchange Layer. Together with the examples, the videos review the measures related to the Data Exchange Layer connection process and its testing.
- Video instructions on the other phases of joining the Data Exchange Layer (YouTube video in Finnish, subtitles available in English)Opens in a new window.. Please note: The videos show an older version of the software, but the process is still the same.
Content of the article
- Starting configuration
- Adding a TSA Server
- Creating Signing and Authentication Certificates
- Installing signed certificates
Things to note when connecting a server to the test or production environment
To connect the server, you need a configuration anchor for the target environment. To get the anchor, please contact the Data Exchange Layer administrators.
Before you continue the installation, verify that the Security Server conforms to the instructions of its target environment.
Please note that you must open the necessary ports on your server before configuring the Security Server. For more information about firewall openings, see section 2 (open firewalls) of the technical deployment instructions.
Configuring the server
You can make the configuration of the Security Server automatic by using automatic management scripts (the X-road Toolkit). For more information, see the page on configuring a Security Server with the X-Road Toolkit.
To configure the Security Server through the GUI, use your browser to connect to the management interface at:
https://{hostname}:4000in which {hostname} is the hostname of the installed Security Server.
The browser will ask you to accept the server certificate. The page might look different depending on the browser. The screenshot was taken in Google Chrome.
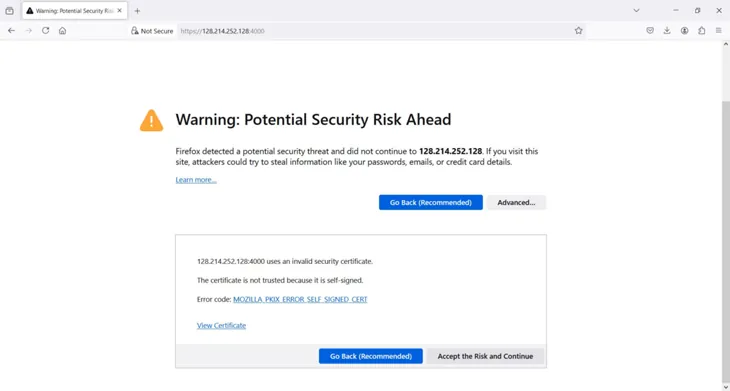
If the server was installed only a moment ago, the services might still be starting up. The administration interface will appear after a while.
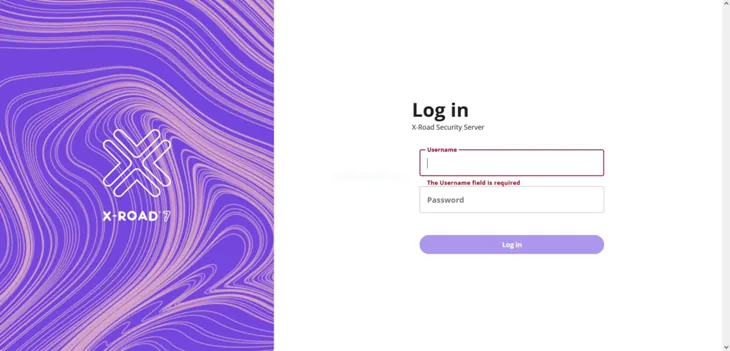
1. Starting configuration
After the services have started, log on with the user name and password that you specified when you installed the Security Server software.
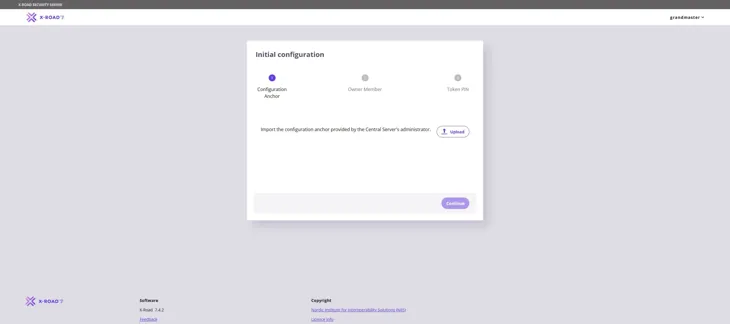
Import into the system the configuration anchor you received from the Data Exchange Layer administrators. Select Upload, locate the configuration anchor, and then click Continue.
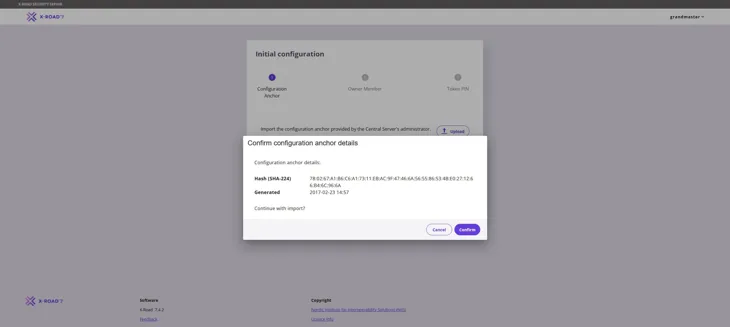
Click Confirm to confirm that you wish to import the configuration anchor into the system.
If the autocomplete does not work, check that your security server can connect to the central server at port TCP/80. A common cause for an autocomplete failure is that an outgoing connection from your server to the central server is not allowed. Please check the instructions for opening firewalls that you previously received from the administrators. Contact palveluvayla@palveluvayla.fi if needed.
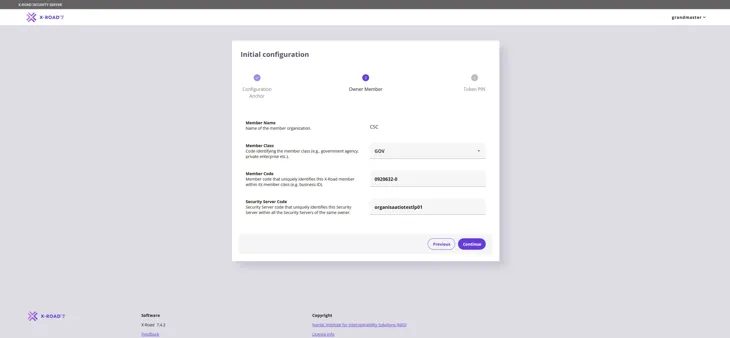
In the window that appears, fill in the following information and click Continue:
- Member Name: the name of your organisation (the system should automatically complete the field once the correct Business ID has been entered in the Member code field). Note! If the automatic completion does not work after entering the Business ID in the Member code field, please contact palveluvayla@palveluvayla.fi
- Member Class: unique identifier that identifies the type of organisation within a single instance (i.e. GOV: Government institutions, COM: Commercial operators)
- Member Code: the business ID of your organisation.
- Security Server Code: the unique identifier of the security server, typically the host part of the server name.
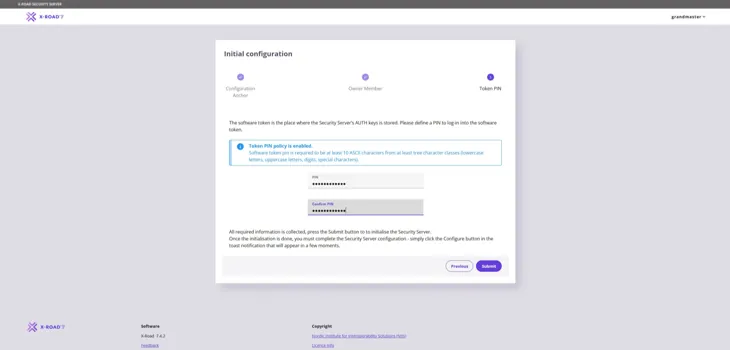
Enter the PIN code (password) set by the person who installed the Security Server, minimum length 10 characters. The PIN code must contain characters from at least three of the following categories: lowercase characters, uppercase characters, numbers and special characters. Store the PIN code in a safe location.
Next, select Submit.
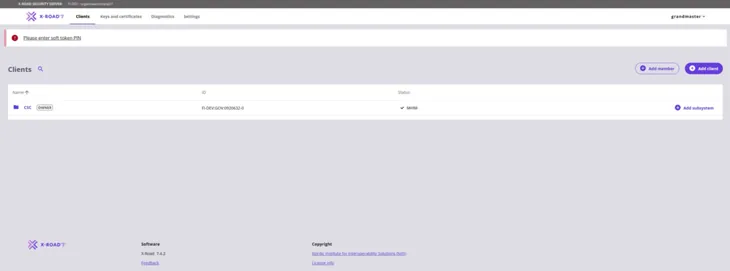
If everything went well, the view should look as shown in the following figure. The added member should appear in Saved mode.
2. Add a TSA service
From the navigation menu, select System Parameters. In the drop-down menu, under Timestamping Services, select Add.
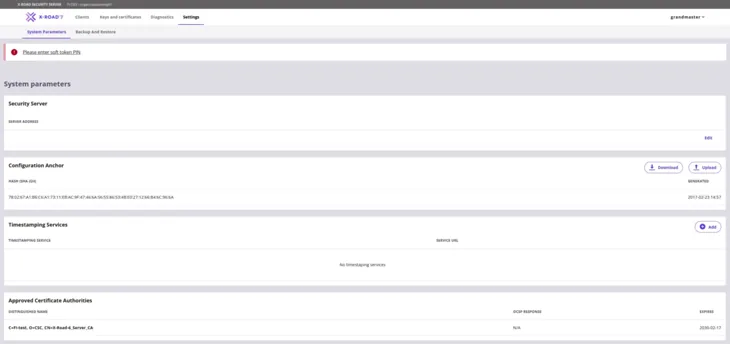
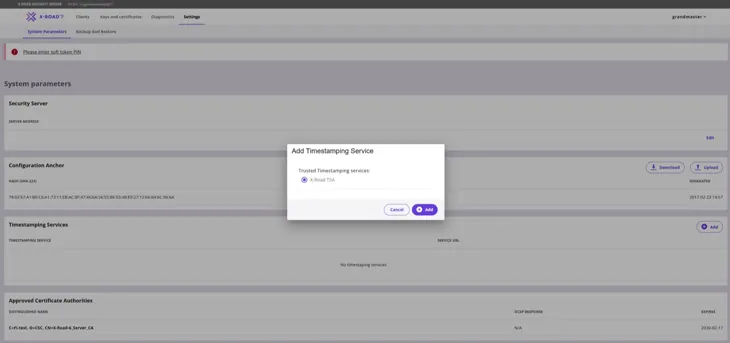
Click the Add button to select the TSA service. The following view illustrates the selection of the local TSA service. Select the target environment’s TSA service suggested by the administration interface.
Note! The view in the image below corresponds to the configuration phase of the development environment (FI-DEV). If you are joining the test environment (FI-TEST) or the production environment (FI), the view differs slightly from the image in terms of TSA server options. In this case, you can choose any of the four options (for example, DVV TSA 1).
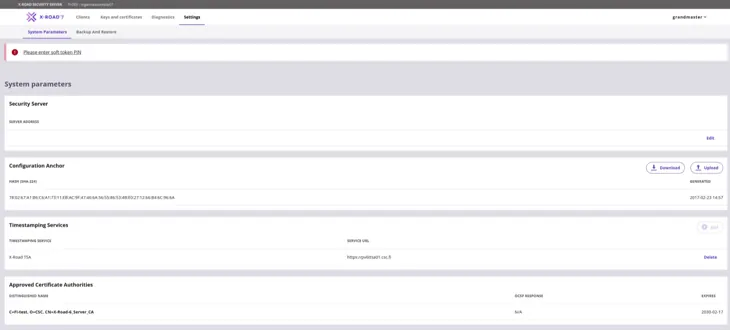
The next figure shows the situation after a successful change to the TSA settings. The security server can now use the selected TSA service.
3. Creating signature requests for Signing and Authentication Certificates
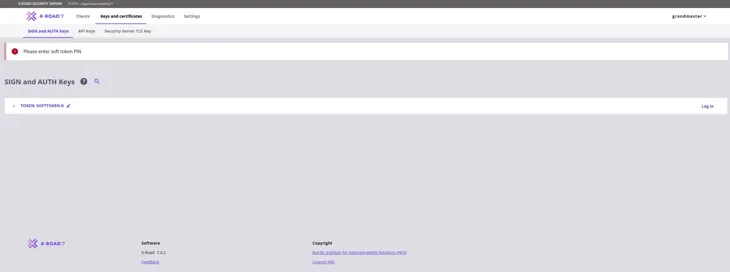
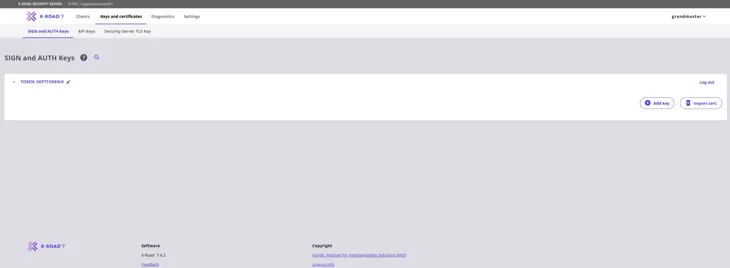
From the navigation menu, select Keys and Certificates and use the Log in button on the Token row to log in.
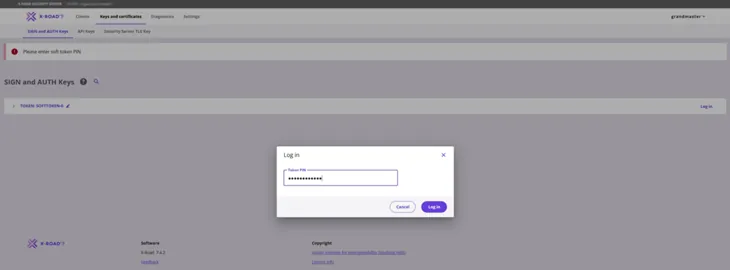
Type in the server PIN code you entered during the registration and log in.
3.1 Signing Certificate request
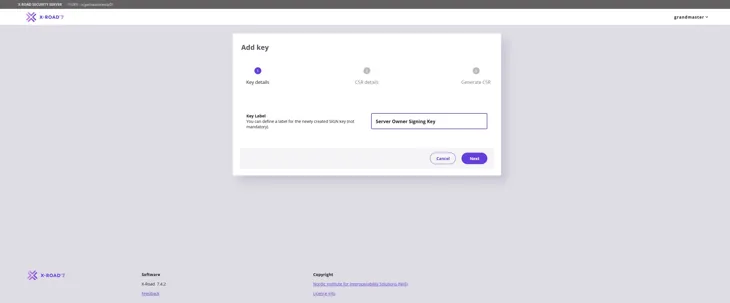
Create the Signing Certificate request first. Start by clicking the Add Key button to create a key.
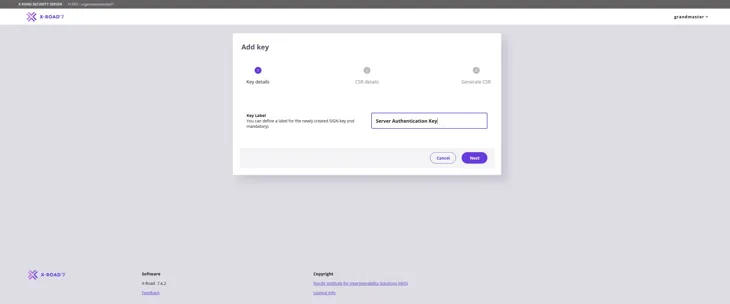
Give a name that describes the purpose of the key. This way, the key can easily be found in the table on the key management page. Press Next to move forward.
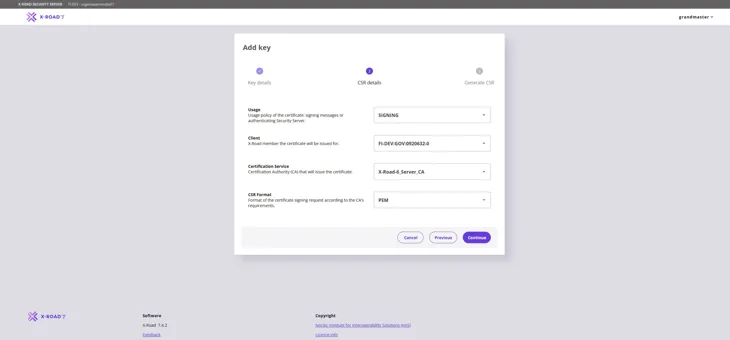
Fill in the information required for the Signing Certificate request as follows:
- Usage: Verify that SIGNING is selected from the pull-down menu.
- Client: Use the Business ID to verify that the correct organisation is selected from the pull-down menu.
- Certification Service: Use the Certificate Authority (CA) provided by the Digital and Population Data Services Agency: for the production environment (FI) use G5R and for the test environment (FI-TEST) use G2R.
- CSR Format: Select PEM.
Click the Continue button to proceed.
In the window that opens, enter the FQDN name (SAN) of the Security Server you added earlier and the name of the organisation (O) that owns the Security Server. Then click the Generate CSR button. Verify that you have entered the name of the organisation correctly. If the information is incorrect, the Signing Certificate request becomes incorrect.
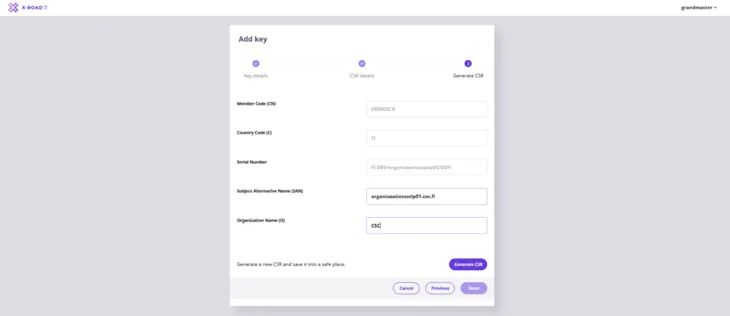
Save the Signing Certificate request downloaded by your browser.
3.2 Authentication Certificate request
Next, create an Authentication Certificate request. Start by creating a new key in the Keys and Certificates view: select the Token of the server and then select Add Key.
Enter a name that describes the purpose of the key to be generated and click Next.
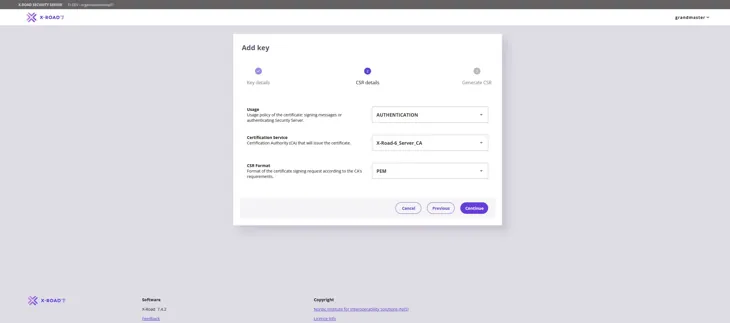
Fill in the information required for the Authentication Certificate request as follows:
- Usage: Verify that AUTHENTICATION is selected from the pull-down menu.
- Certification Service: Use the Certificate Authority (CA) G5R provided by the Digital and Population Data Services Agency: for the production environment (FI) use G5R and for the test environment (FI-TEST) use G2R.
- CSR Format: Select PEM.
Click the Continue button to proceed.
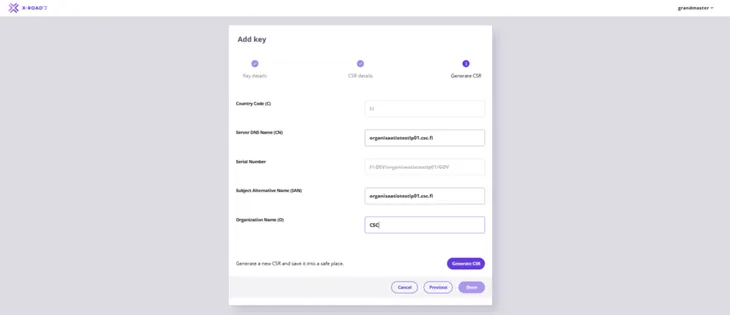
In the window that opens, again enter the name of the organisation (O) that owns the Security Server you added and the FQDN (CN) of the server. Please note! Enter the Security Server name also in the Subject Alternative Name (SAN) field. Verify that you have entered the name and business ID of the organisation correctly. If the information is incorrect, the Authentication Certificate request becomes incorrect.
Then select Generate CSR.
Save the Authentication Certificate request downloaded by your browser.
3.3 Processing certificate requests
Send the signing and authentication certificate requests you have created to the maintenance of the Data Exchange Layer for review at palveluvayla@palveluvayla.fi before submitting the actual certificate applications in the Digital and Population Data Services Agency's (DVV) e-services.
- Note! This instruction applies only when onboarding new security servers and to their initial certificate signing requests. When renewing existing certificates, the certificate signing requests do not need to be sent to maintenance for review; instead, you can submit the certificate application directly according to a separate instruction: Renewing soon-to-expire certificates on the security server - Suomi.fi Data Exchange Layer - Suomi.fi for Service Developers
1. Add a subject to your message
Use the following subject line: “Certificate requests for review”
2. Write the message content
Include at least the following information in your message:
- the name of the connecting organisation or the owner of the security server
- the FQDN of the security server
- attach the CSR files you have created
3. Wait for the review by maintenance
The Data Exchange Layer maintenance team will review the certificate requests. Once the information has been verified, you will receive instructions on how to proceed to the next step.
4. Proceed to submit the actual certificate applications in DVV’s e-services
Go to DVV’s e-services and complete the certificate applications. More detailed application instructions can be found here:
5. Continue with certificate installation
Once you have received the signed certificates from DVV, you can proceed with the certificate installation from the next step of this instruction, 4. Installing signed certificates.
4. Installing signed certificates
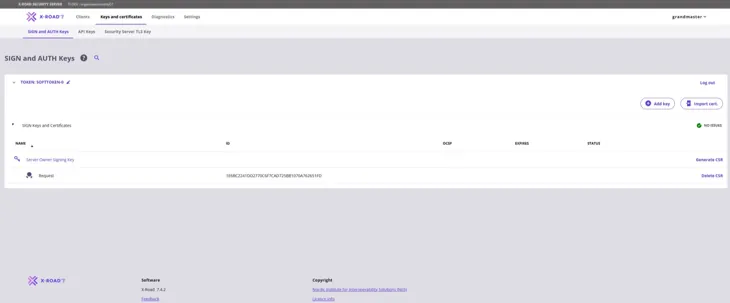
To start installing the signed certificates on the security server, go to the Keys and Certificates page. Locate the Authentication Certificate that you created on the page and click Import Cert. Import the Signed Authentication certificate you received from DVV.
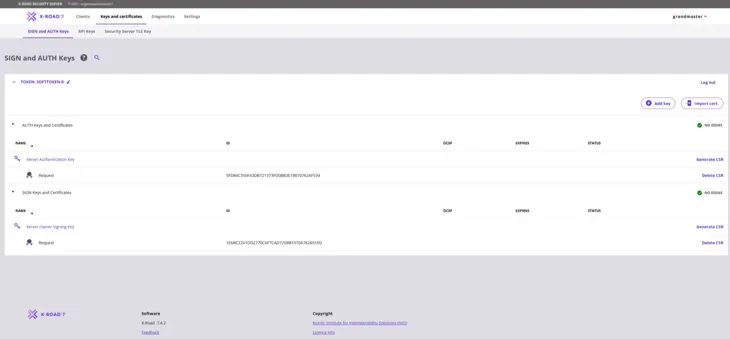
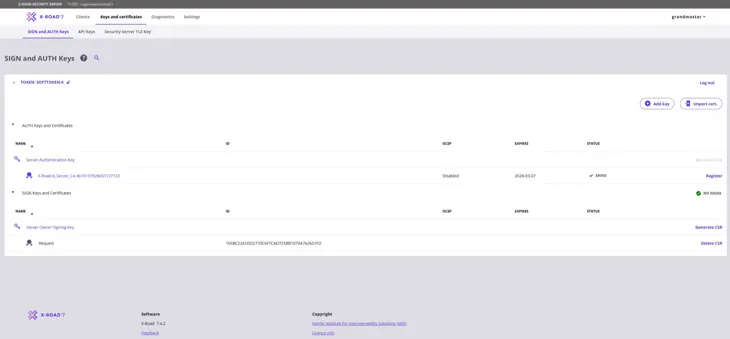
When a signed Authentication Certificate has been installed, its Status column shows the text “Saved”.
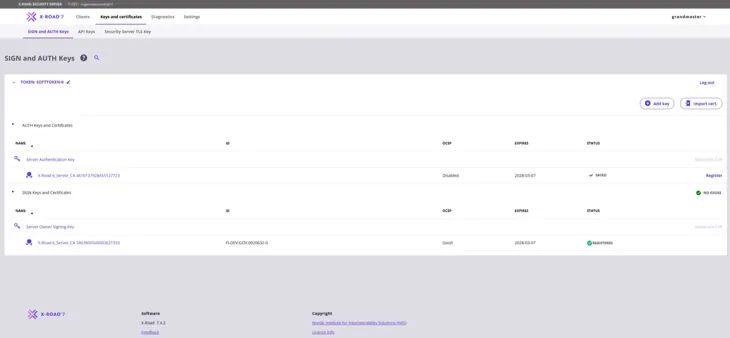
Repeat the steps above to import the Signing Certificate. Select Import Cert. and import the signed Signing Certificate you received from the DVV.
After the signed Signing Certificate has been installed, its Status column contains a green ball icon and the text “Registered”. It is then correctly installed.
The Authentication Certificate must still be registered separately. Click Register to begin.
Enter the FQDN of the server and click Add.
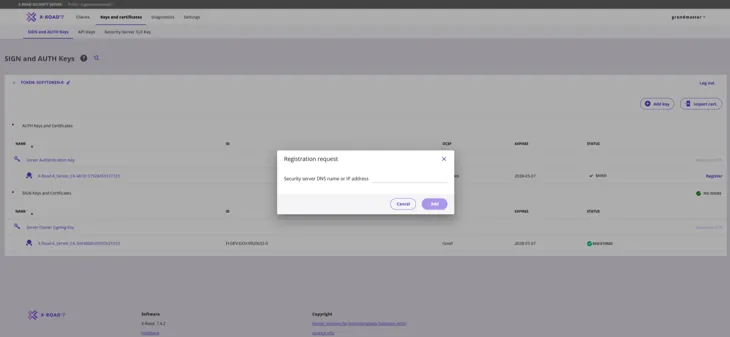
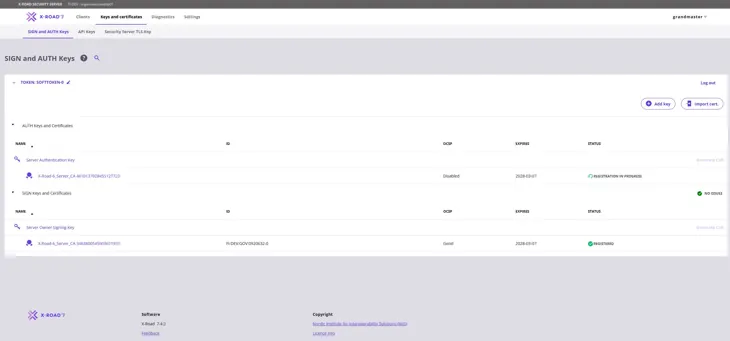
The Authentication Certificate should read "Status: Registration in progress". The administration of the Data Exchange Layer must still accept the registration request.
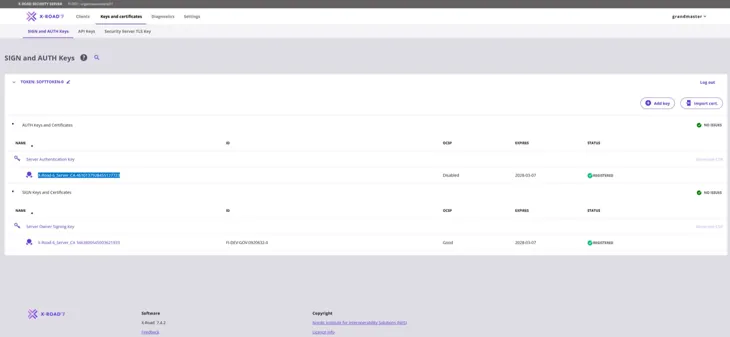
When the Data Exchange Layer administration has approved your server registration, the Status column of the Authentication Certificate should also contain a green ball icon and the text “Registered”. To activate the Authentication Certificate, click the number sequence below “Server Authentication Key” (highlighted in the figure below).
After you have clicked the number sequence below “Server Authentication Key”, the following window will open. Continue by clicking Activate.

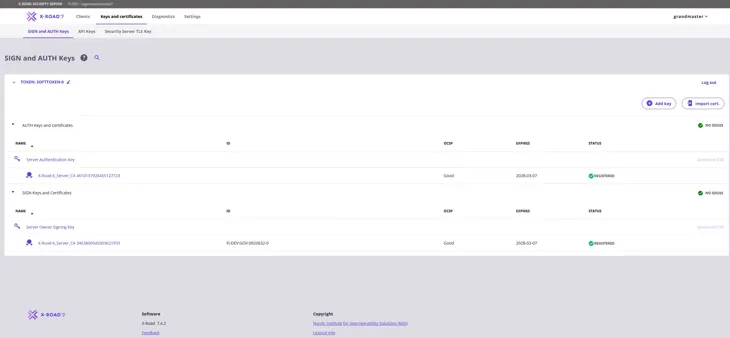
The OCSP status of the Authentication Certificate will change to “Good” in approximately 10-30 minutes, after which the security server will be ready for use.
The security server has now been connected to the Data Exchange Layer.